Training & Programming with Limited Equipment
Posture Home Gym Setup: Step-by-Step Desk Fixes
24th Apr•6 min read
Building an effective limited equipment training program isn't primarily a problem of what dumbbells or bands to buy; it is a problem of room design, flow, and clarity around what actually moves your goals forward. The best program in the world fails if your space feels chaotic, your ceiling clears the barbell by two inches, or you're too anxious about noise to train consistently. A tidy, inviting room increases training frequency because it removes friction.
Most people buy first and organize later. The result is a room stuffed with half-used gear and a vague sense that something's missing. A smarter path is to choose a training framework first (one built around a specific progression model), and then select equipment that serves that model.
The research shows that programs built on concurrent training (strength and work capacity and endurance, trained in the same week) deliver measurable returns across multiple fitness domains. This matters because limited equipment works best when each session targets multiple adaptations. A dumbbell complex, for example, builds strength, work capacity, and cardiovascular resilience in 30 minutes. A scattered approach (leg day, arm day, cardio day) demands more volume and more equipment to avoid boredom.
Start by choosing a home gym equipment workout philosophy: Are you chasing strength gain? Muscle growth? General conditioning? Multi-modal resilience? Your answer determines the equipment stack and the layout that serves it. For step-by-step templates that match different room sizes and goals, see our Home Gym Workout Blueprint.
Flow first: the room should invite training, not clutter. This is where most home gyms fail. A squat rack crammed into a bedroom corner, cables draped across a bench, plates scattered on the floor. These setups teach your brain to avoid the space.
Start with a floor plan. Measure:
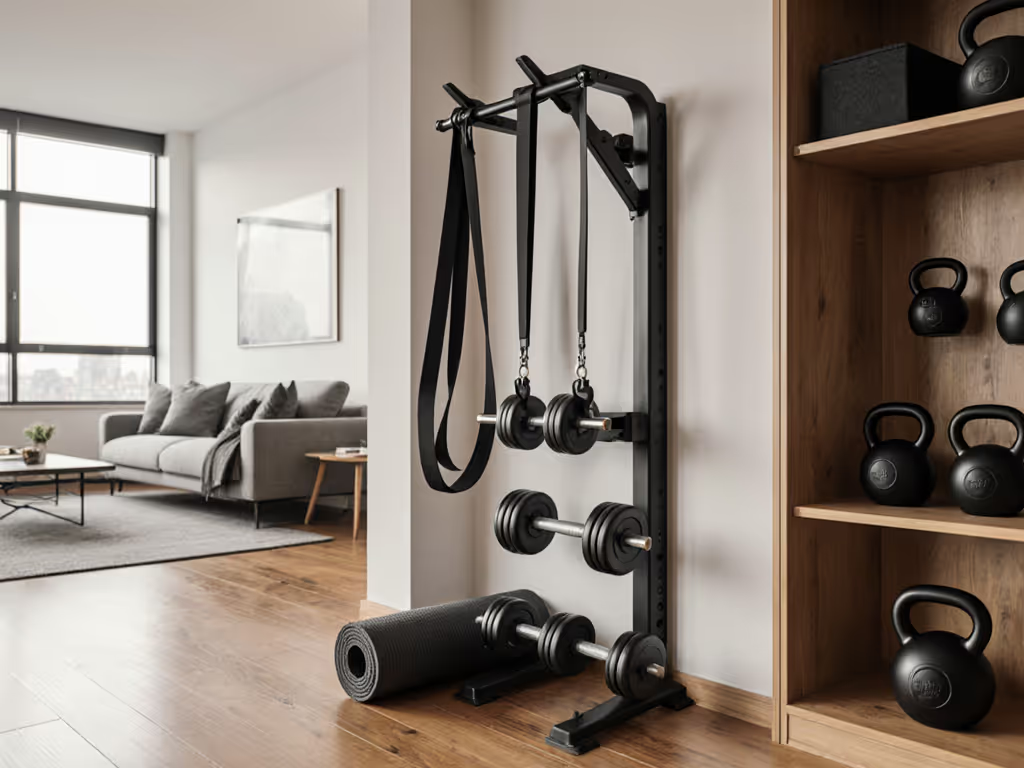
Once you have these constraints mapped, place equipment to preserve walking paths and visual quiet. A single, well-positioned rack takes up less visual and mental real estate than three separate pieces scattered around. Wall-mounted storage for dumbbells, bands, and plates keeps the floor clean and reach envelopes clear. Compare options in our space-saving home gym storage guide. A common mistake: buying a bench designed for a commercial gym; instead, choose a low-profile option that doesn't block sightlines or create visual clutter.
I worked with a client whose attic gym had sloped ceilings and a single dormer window. We rotated the squat rack ninety degrees to fit the long wall, swapped a bulky adjustable bench for a compact flat platform, and mounted storage between studs. The result wasn't just a functional room; it felt calm and intentional. He trained more because the space finally belonged to him, not vice versa.
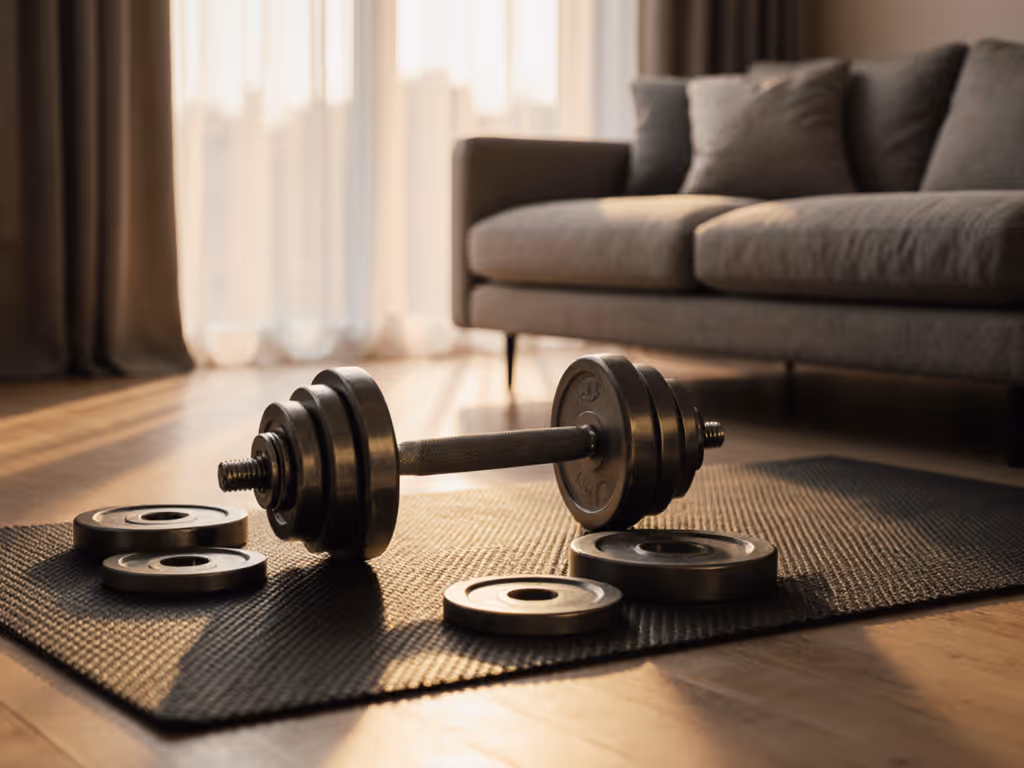
If you have $500 and 80 square feet, your foundation is:
This stack handles all four domains: strength (loaded compound movements), work capacity (chipper circuits, AMRAP workouts), endurance (rope, ruck, or running outside), and chassis integrity (loaded carries, core work). If you're starting with a tight budget, build from our $500 home gym that grows with you. The programs built around dumbbells show strong concurrent adaptations when structured with density cues and progressive overload.
Storage density matters here. If your dumbbells live in a pile, you're not building a training space, you're storing equipment in a bedroom. Wall-mounted racks or a vertical organizer reclaim floor space and create a posture-friendly cue: the room signals "I work out here."
Progressive overload doesn't require infinite load options. It requires a system. The most overlooked levers are:
Rep and Set Manipulation: If you only have a 30-pound dumbbell, you don't "max out." You shift from 3 sets of 5 reps to 4 sets of 5, then 5 sets of 5, then 3 sets of 8. Volume increases; strength and work capacity follow.
Time Under Tension: Slow eccentrics (3-second descents) and pauses at the bottom turn a moderate weight into a strength stimulus. This is free and requires no new equipment.
Density and Rest: Cutting rest periods between sets forces adaptation. A circuit of dumbbell squats, presses, and rows in 20 minutes, done for 5 weeks with no extra load, is a physiological challenge.
Exercise Variation: Dumbbell Squats, Goblet Squats, and Suitcase Carries all use the same dumbbell but train different strength angles. Variety preserves motivation and targets weak points.
The data is clear: you don't need a barbell or a plate-loaded sled to build serious strength. A structured program using moderate equipment, repeated with intent, outperforms random heavy lifting.
If your garage is 45 degrees in January or 95 degrees in July, or if your basement smells like mildew, you will not train there consistently. The brain doesn't override comfort to chase gains. Environment is a pillar of adherence.
Key measures:
If it looks calm, it trains calm. The same principle applies to environment: a space that feels clean and controlled promotes consistent effort.
Avoid analysis paralysis by building in phases:
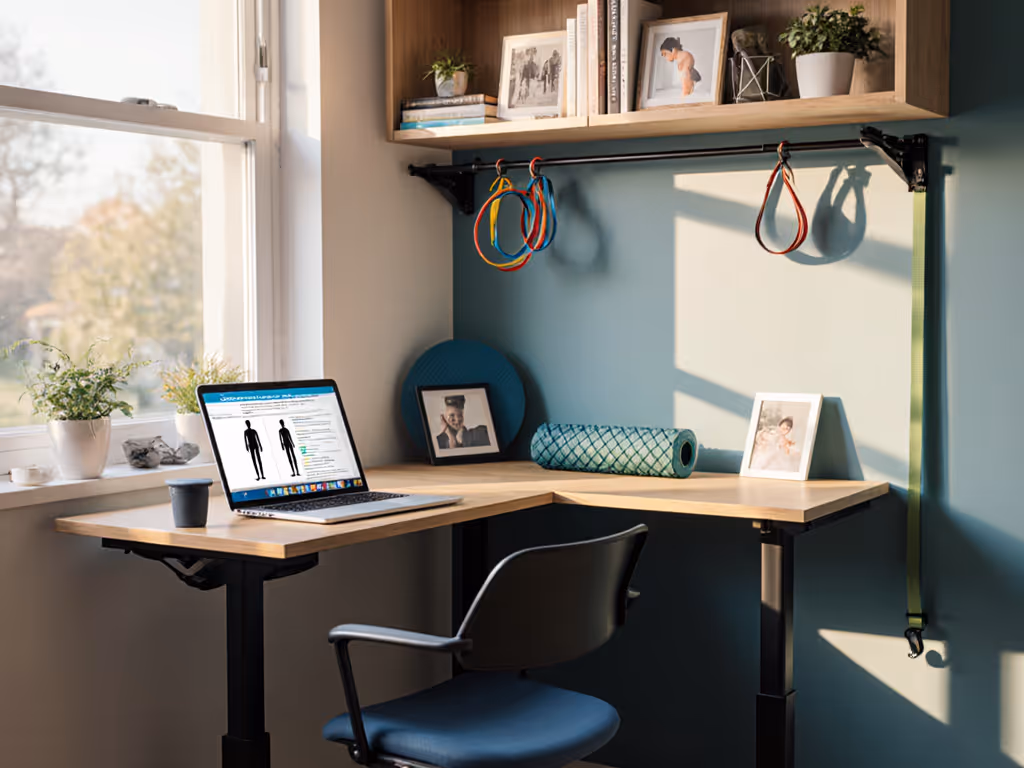
Phase 1 (Weeks 1-6): Minimal setup. Dumbbells, pull-up bar, bench, foam roller. Run a bodyweight or dumbbell-focused program with concurrent structure. Cost: $200-400. Outcome: establish baseline, identify weak points, decide if home training fits your lifestyle.
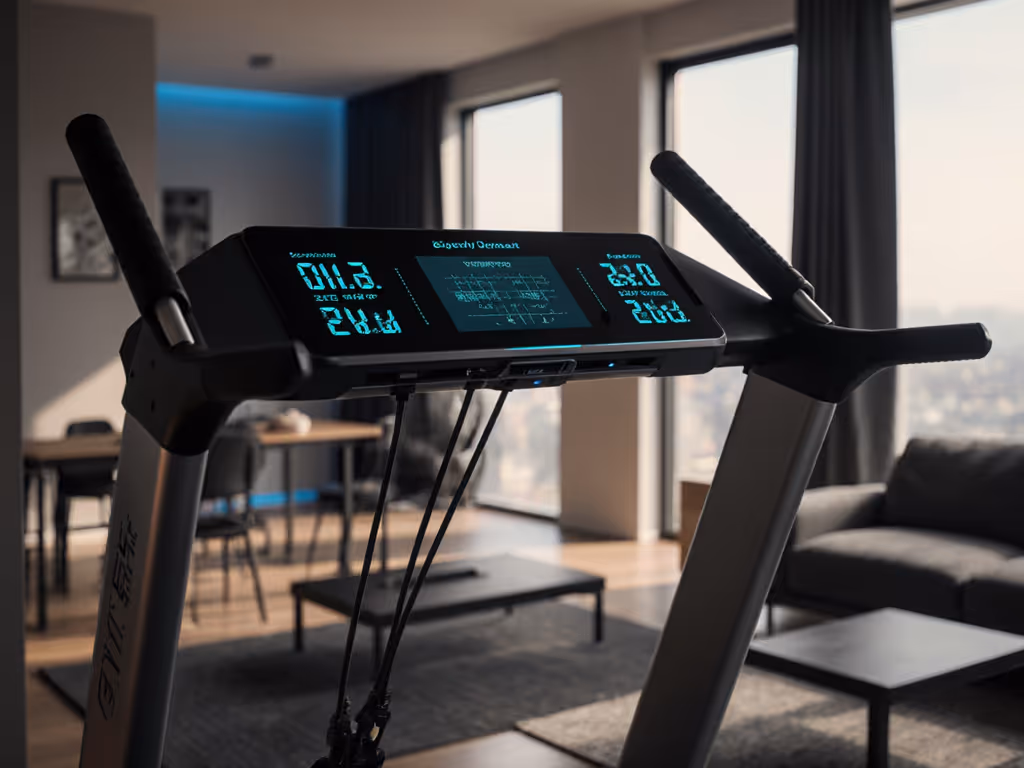
Phase 2 (Weeks 7-16): Add a second tool. If strength-focused, add a compact exercise equipment for small spaces like a sandbag or kettlebell; if conditioning-focused, add a rowing machine or upgrade dumbbells. Refine room layout based on six weeks of living with gear. Cost: $200-600. Outcome: two stimulus types, deeper adaptation.
Phase 3 (Months 4+): Modular upgrades. A pull-up rack with dip attachment, cable machine, or sled. By now you know what you use and what gathers dust. Cost: $400-1200. Outcome: a complete, personalized toolkit.
This staged approach costs less total, reduces buyer's remorse, and lets you learn what actually fits your body, schedule, and space before committing big dollars.
Measure your space in detail. Sketch a floor plan with walking paths and equipment zones. Then select one training program that matches your goal (strength, hypertrophy, or conditioning), built around equipment you either have or can source cheaply. Focus on room design and program logic before you chase the next piece of gear. A calm, functional space with a clear progression model beats a warehouse of equipment and confusion. Start small, train intentionally, and upgrade only when you've proven you'll use the investment.