Functional Trainer Configurations: Space, Noise & Setup
By Amina Rahman • 27th Feb
Functional trainer configurations for home cable gym machines demand more than picking a model off a spreadsheet. You're choosing between wall-mounted and free-standing setups, integrating with existing racks, managing noise in noise-sensitive spaces, and staging purchases so you don't overcommit to a bulky frame that eats your room for five years. This guide walks you through measuring, comparing, and deploying functional trainers in real homes (not showrooms) with honest data on footprint, decibels, and upgrade paths. If you're still deciding between cable systems, see our home cable machine comparison.
Step 1: Measure Your Space and Constraints
Before narrowing equipment, lock in your actual boundaries. This is where most projects stumble: optimism about ceiling height, forgotten doorways, or underestimated neighbor tension.
Map Your Available Footprint
Measure length, width, and ceiling height of your training room. For a power rack cable integration (the anchor of most functional trainer setups), allow a minimum of 10×8 feet to fit the rack, move around it safely, and execute cable exercises with full range of motion. If your space is tighter (say, 8×10 feet in a bedroom or apartment corner), you'll need a wall-mounted vs free-standing functional trainer trade-off: wall systems use roughly 3-4 feet of wall space but demand solid framing; free-standing models occupy 4×3 feet of floor and are portable but heavier.
Ceiling height matters more than marketers admit. Most power racks need 7-8 feet of vertical clearance for overhead presses and pull-ups. Basements with 7-foot ceilings can work, but low-hanging joist runs or garage door tracks eliminate overhead work entirely, so size the rack or choose a compact cable-only system instead.
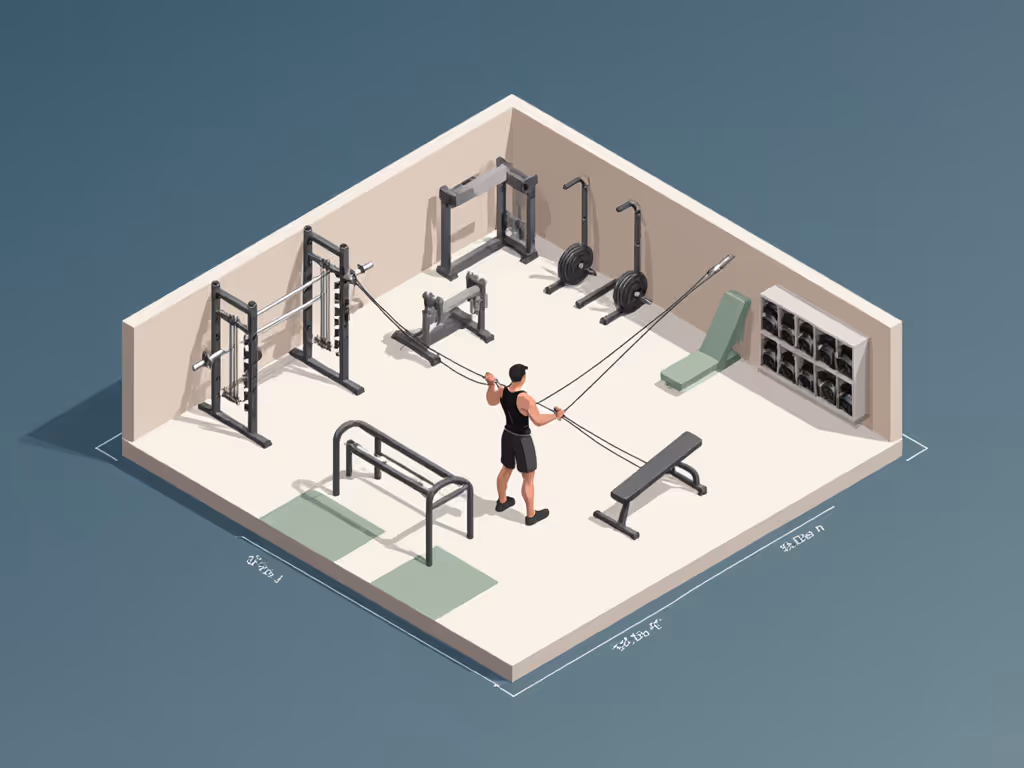
Account for Movement Zones
Functional trainers require open floor space. A packed room is a frustrating room. Leave 2-3 feet of clearance around your main equipment for safe movement, and designate zones:
- Strength Zone: Rack, bench, barbell
- Cable/Accessory Zone: Functional trainer positioned for full range of motion
- Conditioning Zone: Open floor for step-backs, rotations, and footwork
- Storage Zone: Plates, bands, and accessories off the floor
This zoning prevents the common trap: mounting a cable system without open space to use it.
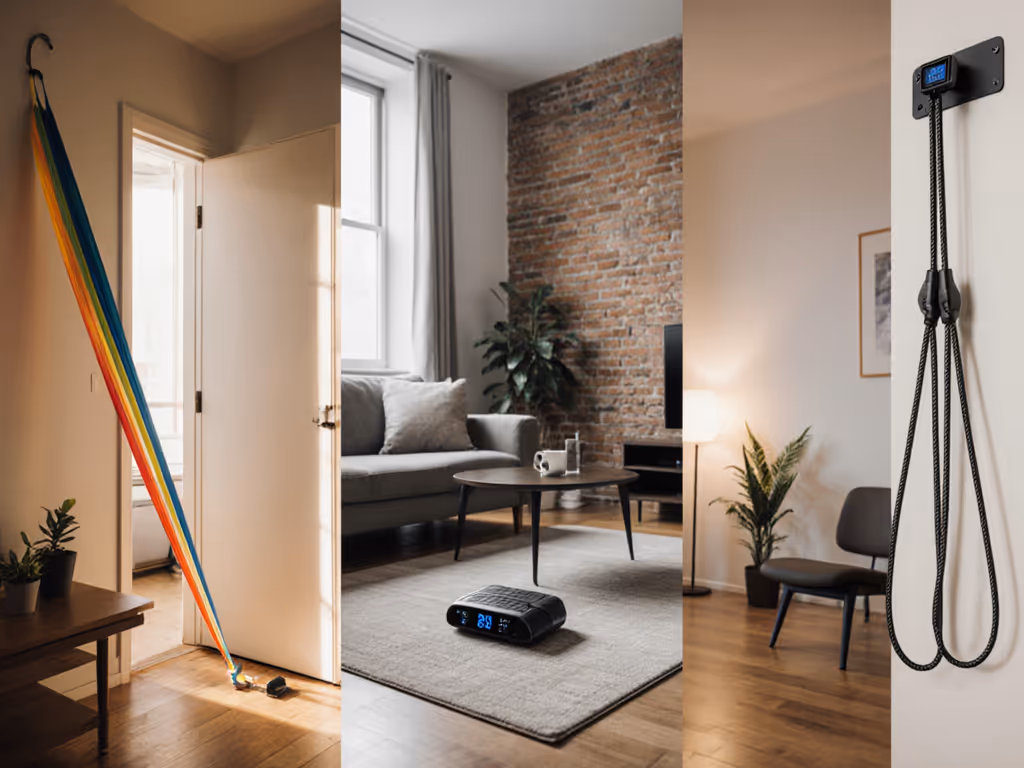
Document Environmental Noise and Vibration Sensitivity
Note your noise environment early. For practical mitigation tactics in multi-unit buildings, see our apartment gym noise control guide. Are neighbors directly below or to the side? Do children nap above? Does your HOA restrict impact tools? This shapes your entire purchasing strategy. Decibel targets matter: a cable system noise comparison shows pulleys (60-70 dB) versus weight stack impact (75-85 dB). For apartment dwellers, cable-only setups without drop weights are quieter by design.
Floor vibration is separate from sound. On suspended floors (apartments, second-story bedrooms), even silent cable systems can transmit micro-vibration through joists. Rubber flooring or isolation pads reduce transmission significantly; hard concrete basements don't require them.
Step 2: Compare Configuration Types
Three functional trainer archetypes dominate home setups, each with distinct space, cost, and upgradeability profiles.
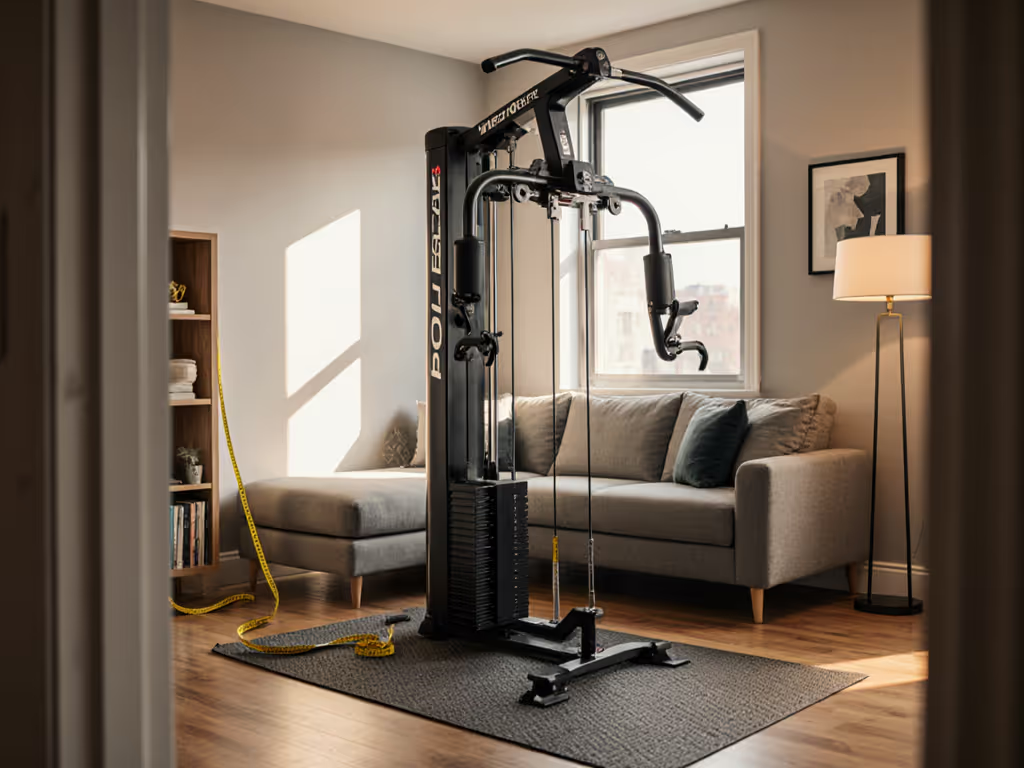
Wall-Mounted Cable Systems
Footprint: 3-4 feet of wall, minimal floor intrusion
Noise level: 60-70 dB (pulleys only, no weight stack impact)
Installation complexity: High (must locate studs, mount anchors; reversible only with drywall repair)
Weight capacity: 200-300 lbs (varies by frame and anchor depth)
Upgrade potential: Low; anchors lock you into one wall, attachments limited to pulley geometry
Cost range: $400-$1,200 used; $800-$2,000 new
Best for: Apartments, rentals (if landlord approves), low-ceiling rooms, noise-sensitive households.
Trade-offs: Lightweight, quiet, and space-efficient, but attachment ecosystems are proprietary. If you later want a power rack or stronger cable pull, you're starting over on a different wall.
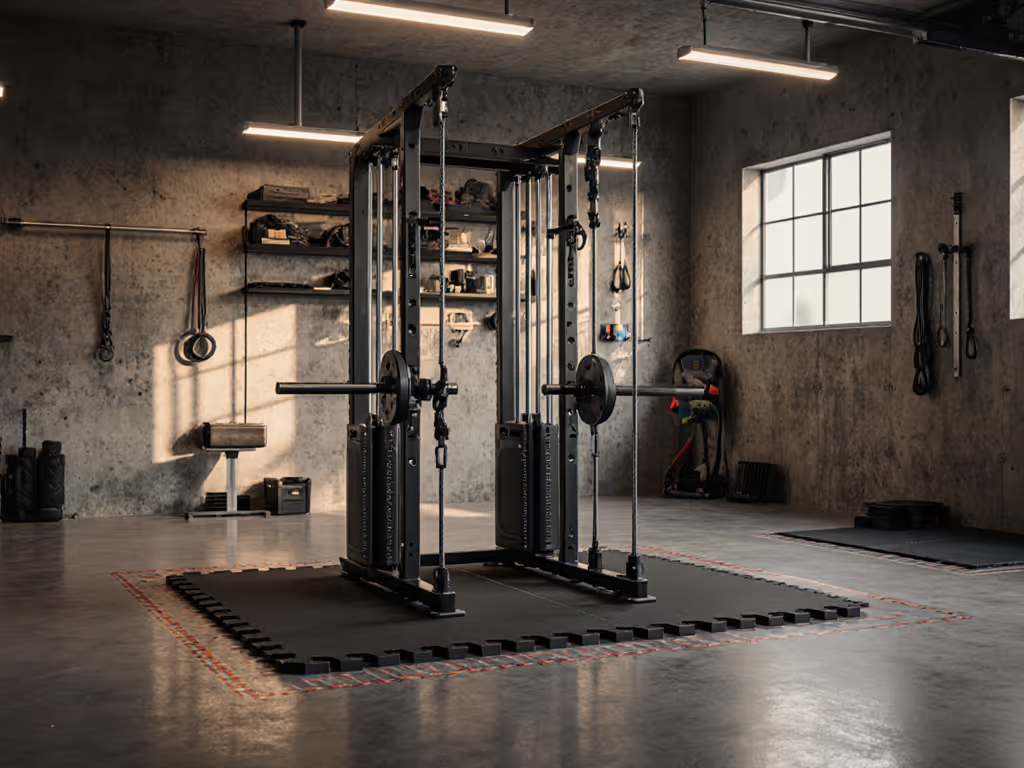
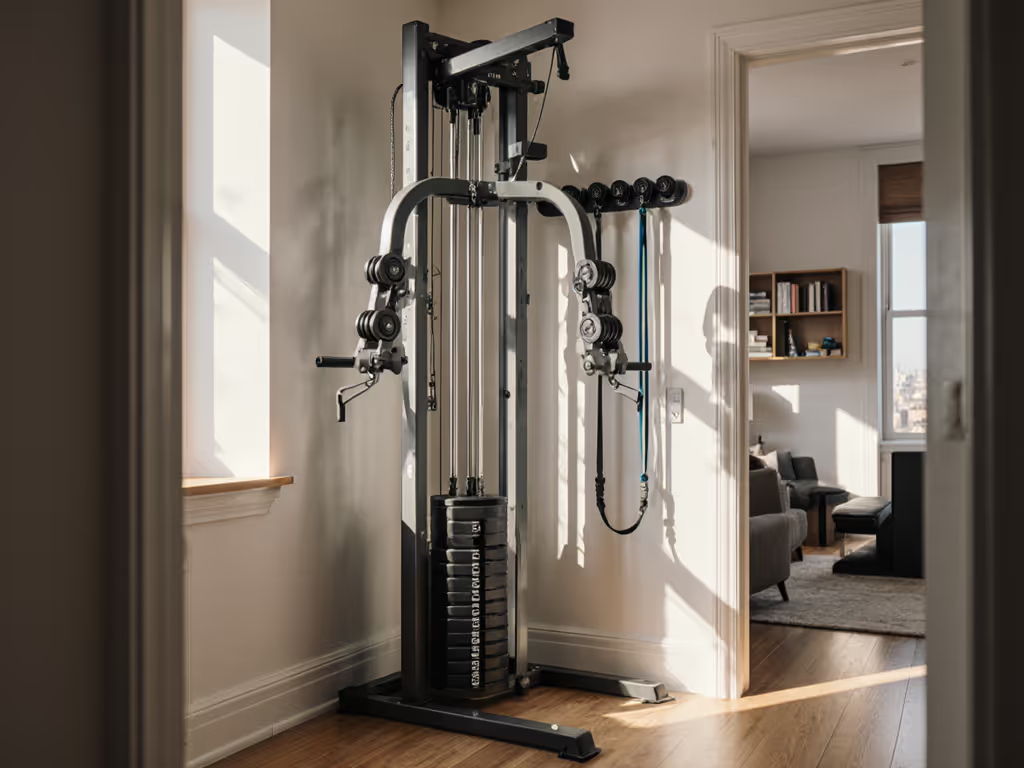
Free-Standing Cable Towers (Dual-Stack or Single-Stack)
Footprint: 4×3 to 6×3 feet
Noise level: 70-80 dB (weight plate impact on cables under load)
Installation complexity: Low; bolt to floor (optional) for stability
Weight capacity: 300-600 lbs (dual-stack models)
Upgrade potential: Medium; can pair with a separate rack, but occupies dedicated floor space long-term
Cost range: $600-$1,500 used; $1,200-$3,000 new
Best for: Basements, garages, dedicated gyms, users who want a standalone piece without rack integration.
Trade-offs: Portable and modular in theory, but 200-300 lb weight stacks and bulky frames become anchored through inertia (moving them later is demoralizing). Noise is higher due to weight plate collisions.
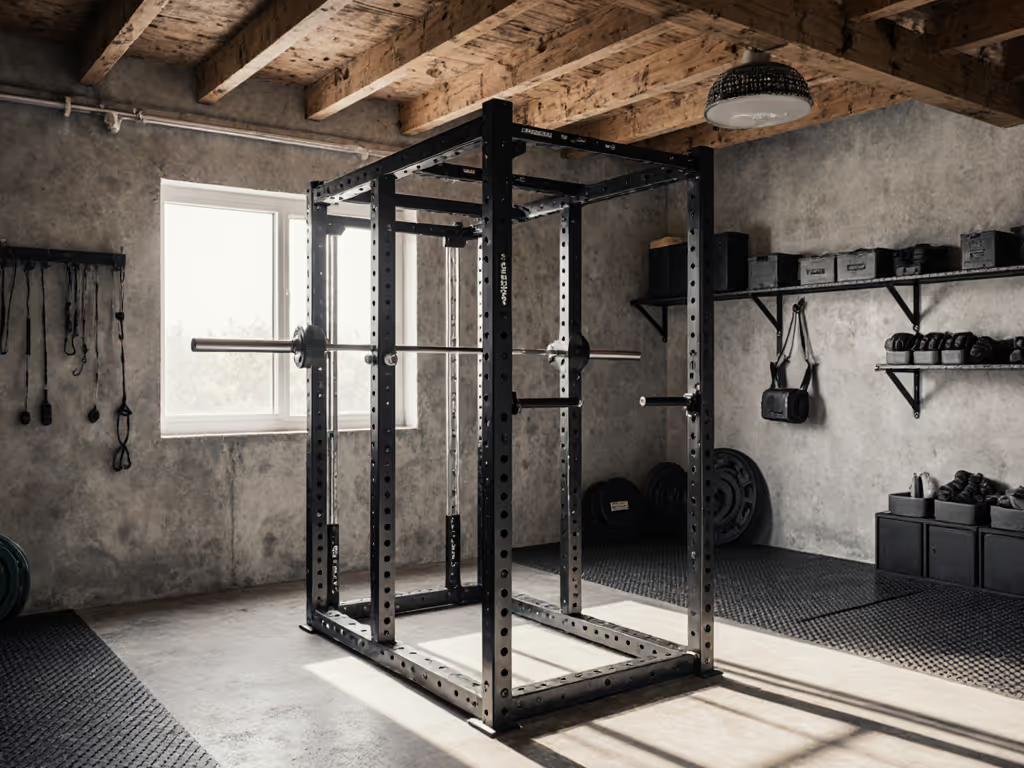
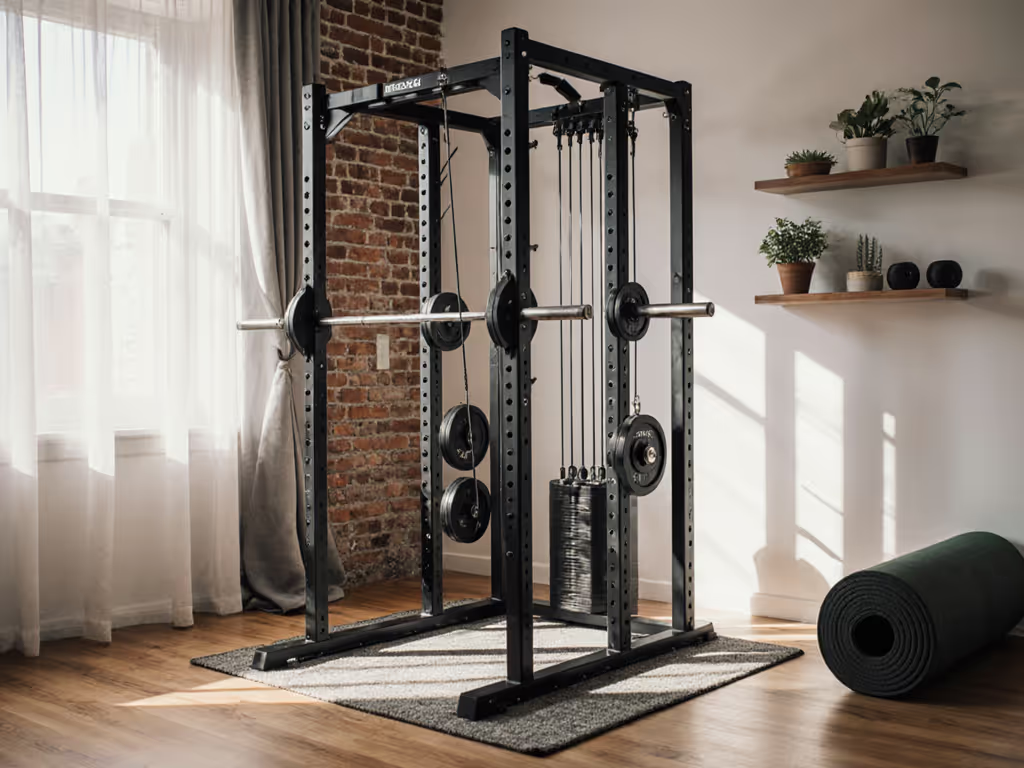
Power Rack with Integrated Functional Trainer (Cables Attached to Rack)
Footprint: 4×4 to 5×5 feet
Noise level: 60-70 dB (cable-driven, minimal impact if pulleys are damped)
Installation complexity: Medium; secure rack to floor via anchors or platform mats
Weight capacity: 700+ lbs (steel frame supports heavy lifts + cable load)
Upgrade potential: Highest; hole spacing on racks standardizes, attachments are universal, future additions (pin-loaded plate-loaded gear, landmine) bolt into the same frame
Cost range: $1,200-$2,500 used (quality racks); $2,000-$4,500 new
Best for: Mid to large home gyms (100-150 sq. ft.), users planning 3+ years of training, those who combine strength and functional work.
Trade-offs: Requires floor space commitment, but unmatched flexibility for phased upgrades.
Step 3: Power Rack Cable Integration and Compatibility
If you're pairing a power rack with cables, you'll face compatibility questions that lock you in or open doors.
Hole Spacing Standards
Most modern racks use 2-inch hole spacing (legacy racks: 5/8-inch hole diameter; newer: 5/8 inch or 11-gauge). Check your rack spec sheet before buying attachments. Mismatched holes mean wasted money or DIY drilling (risky, voids warranty).
Some commercial racks use different hole patterns (Westside Barbell, Rogue Monster Lite vs. Rogue 3×3). Confirm the attachment ecosystem before committing. A used rack at 50% off becomes expensive if 90% of affordable attachments don't fit.
Cable Tower Integration Options
Bolt-on cable arms: Attach directly to rack uprights; cables run down-center. Compact, saves floor space. Check weight capacity. Some racks rate at 300 lbs cable load, others 600 lbs. Exceeding this risks rack instability.
Separate cable tower next to rack: Places cables 2-3 feet away; more floor space needed but rack and cables operate independently. If the cable tower fails, you still have squats and bench.
Sandwich plate cable attachment: Uses weight plates as counterbalance. Noise increases (plates clanging), but no separate stack needed. Cramped feel; not recommended for small rooms.
Step 4: Assess Noise and Vibration
Noise is not cosmetic; it is a budget constraint. Quiet setups cost more upfront but unlock training windows (early morning, late night, nap time) and preserve household peace.
Cable System Noise Comparison
| Component | Decibel Range | Noise Character | Mitigation |
|---|---|---|---|
| Pulley-only cable (no weights) | 60-65 dB | Whisper-soft | Inherent; choose this if noise is critical |
| Dual-stack weight cables | 75-80 dB | Plate clanging on descent | Rubber bumper pads on stack; damper straps |
| Sled-style functional trainer | 70-75 dB | Smooth but audible | Lubricant on rails; isolation mats under machine |
| Overhead press (barbell into rack pins) | 85-90 dB | Sharp metallic | Expect this; train during daylight if possible |
Note: Measurements vary by floor type, equipment brand, and resistance level. Hardwood over joists amplifies; concrete basements reduce transmission.
Isolation and Flooring
Rubber flooring or mats (≥1/2 inch) under cable machines reduce vibration transmission by ~40-50%. Costs range $2-$5 per sq. ft. for quality mats. A 4×4 ft. platform for a cable tower runs $30-$80. Compare materials and installation tips in our home gym flooring guide.
Cable damper straps (rubber sleeves around weight stack cables) reduce clang by ~5-10 dB. Cheap ($15-$30 per set) and reversible (ideal for renters).
Timing and scheduling: Train during daylight or communal hours (weekday mornings, not 6 AM if neighbors sleep late). This often matters more than absolute decibels.
Step 5: Phased Implementation Roadmap
Avoid the trap of buying everything at once. Buy once, cry once (strategically) means sequence purchases so early phases deliver fast wins and later phases upgrade, not replace.
Now Phase (Weeks 1-4, Budget: $200-$600)
Start lean. Measure your space, confirm ceiling height, assess noise tolerance, and lock floor protection.
Deliverables:
- Printed floor plan with dimensions and zone layout
- Rubber floor mats or yoga mats (temporary, under $100)
- One adjustable dumbbell set (used: $0.50-$0.75 per lb; new: $1-$2 per lb) or used plates and a curl bar
- Resistance bands and a pull-up bar (wall-mounted or doorframe, $30-$80)
Why this works: You train now. You gather real data on your environment (How does your floor feel? How noisy is a barbell drop? Do neighbors complain?). You avoid guessing.
Next Phase (Weeks 5-12, Budget: $800-$1,800)
Add a modular cable option. Choose wall-mounted vs free-standing functional trainer based on your noise findings and floor data. Once it's in place, maximize sessions with our functional trainer programming guide.
If you chose wall-mounted:
- Single-pulley wall cable system, used ($400-$700)
- Basic attachment pack (stirrup, tricep rope, lat bar)
- Drywall anchors or stud-mounted brackets; reversible if needed
- Immediate win: overhead tricep extensions, lat pulldowns, low-row (major strength moves in <4 sq. ft.)
If you chose free-standing:
- Used dual-stack cable tower ($600-$1,200)
- Rubber isolation feet or floor mats (added $50-$100)
- Similar exercise library, more noise but portable.
Compatibility check: Can your wall or floor handle the load? Can your room accommodate another piece without blocking doors?
Later Phase (Months 3+, Budget: $1,500-$3,500)
Upgrade to a power rack cable integration for strength-plus-cable work, or expand cable systems if your phase 2 choice proved too small.
If upgrading to power rack:
- Used quality rack (Rogue, Titan, or Fringe Sport: $800-$1,800)
- Attached or adjacent cable tower
- Fold-flat or removable bench
- Your old cable tower sells used for 60-70% of purchase price; reinvest into new attachments.
If expanding single-pulley: Add a second pulley or trade up to a dual-stack system. Again, sell the old system and apply credits.
Why this cadence works: By month 3, you know your noise tolerance, floor limits, and whether overhead work fits your ceiling. You've trained with entry-gear and can spot useless attachments. You don't sink $3K on a power rack only to find your neighbors revolt or your ceiling is too low.
Step 6: Functional Trainer Installation Requirements
Measurement and sequencing prevent costly mistakes; installation practices prevent injuries and regret.
Floor Anchoring and Platform Decisions
Concrete basements: Epoxy or lag bolts anchor racks firmly. Rubber flooring is nice (sound dampening, cleanliness) but not structural. Cost: $50-$150 in bolts and anchors.
Wooden floors (apartments, second stories): Load-spreading mats (plywood + rubber) distribute weight and reduce vibration. Bolting is risky (voids flooring warranty, creates hard spots on joists). Use heavy-duty mats under the rack and cable tower; bolt only if landlord approves and contractor installs.
Weight limits: Check your lease or building codes. Most residential floors rate 40-50 lbs per sq. ft. A 500-lb cable tower on 4 sq. ft. equals 125 lbs/sq. ft. (over limit). Spread the footprint with a platform or use lighter single-stack cables instead.
Cable Routing and Attachment
Sloppy cable routing:
- Trips people (safety hazard)
- Entangles attachments (frustrating)
- Signals clutter (demoralizing in shared rooms)
Best practice: Route cables along wall studs or behind equipment using cable clips ($10-$20 per 10-pack). Label cables at both ends with tape. Store unused attachments in a small bin (not hanging on the machine). A tidy cable setup cuts setup and breakdown time by half.
Bench and Attachment Stability
If your cable system requires a bench for seated rows or lat work, confirm the bench:
- Fits between cable pulleys (width clearance)
- Is stable on your floor mats (no rocking)
- Doesn't block access to the cable stack or attachment storage
Fold-flat benches or removable seats save space between sets.
Conclusion: Choosing Your Entry Point
Functional trainer configurations aren't one-size-fits-all. Your space, noise tolerance, and timeline dictate the path.
Urban apartment dweller, thin floors, 80 sq. ft. available? Wall-mounted cable system, phase 1 complete in a month, silent by design.
Garage with overhead clearance and no neighbors within earshot? Power rack + integrated cables, full strength range from day one, noisiest but most capable.
Shared bedroom, short on space, high noise anxiety? Used dual-stack cable tower on isolation mats, compact footprint, moderate noise, easy to sell if plans change.
The trap is analysis paralysis (too many specs, too many YouTube reviews of commercial setups). Ground your choice in three data points: your actual square footage, your genuine noise environment, and your honest 12-month plan. From there, phase in gear that serves today while keeping doors open for tomorrow.
Further exploration: Before purchasing, draw your layout to scale, measure ceiling heights and doorframe widths, record ambient noise at your intended training times, and test a friend's cable machine if possible. Visit fitness retailers (even if you buy used) to feel pulley resistance and cable smoothness (specs do not convey these tactile realities). Join home-gym subreddits (r/homegym) and Discord channels where users post real footprints, noise measurements, and regret stories. That community feedback, paired with your measured space, removes guesswork and turns investment into confidence.
Related Articles
Strength Training Equipment & Setups
Portable Resistance Training Comparison: Space & Noise
12th Apr•9 min read
Strength Training Equipment & Setups
Single-Stack Functional Trainers: REP, Bells & Titan
23rd Mar•9 min read
Strength Training Equipment & Setups
Bells of Steel All-in-One Review: Squat & Cable Tested
15th Feb•13 min read
Strength Training Equipment & Setups
Bowflex Max Total Review: Space-Smart Dual Resistance Analysis
7th Dec•10 min read