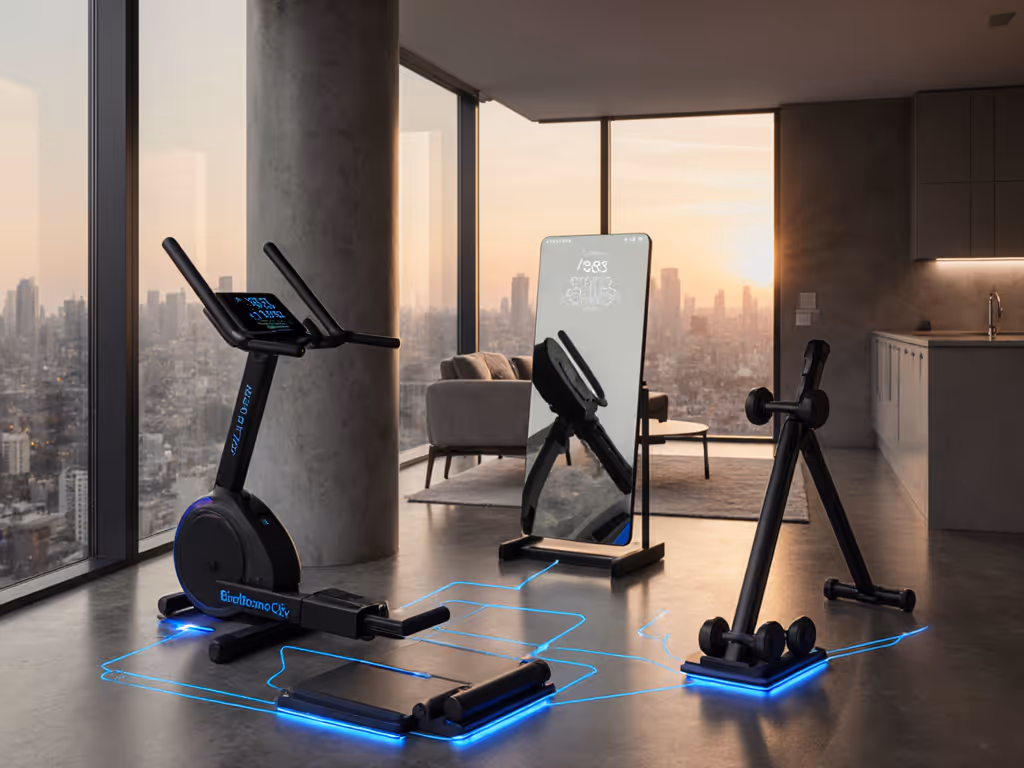
When I rebuilt my home gym after a rent spike, I didn't just move equipment (I rethought everything about home gym tech integration). That pivot proved what I now know as gospel: a smart fitness ecosystem isn't about having the most expensive gear, but creating connections between thoughtful purchases that work together. Proper integration solves your biggest pain points (noise, space constraints, and buyer's remorse) while keeping your space clutter-free and tenant-happy. Forget "best of 2025" lists that ignore your ceiling height and HOA restrictions. Let's build something that actually works in your apartment, garage, or spare bedroom. If noise is a concern in multi-unit buildings, see our apartment gym soundproofing guide.
Step 1: Inventory Your Current Tech Stack (The Reality Check)
Before adding anything new, map your existing gear and digital footprint. I've seen too many clients compound analysis paralysis by skipping this step. Create a simple spreadsheet with three columns:
Physical Equipment: List everything (even dumbbells and mats)
Digital Dependencies: Which apps do you actually use? (Not just download and abandon)
Pain Points: Be specific: "Treadmill vibrates neighbor's ceiling fan" not just "too noisy"
Buy once, cry once - strategically applies doubly to digital ecosystems. That $40/month app that only works with one piece of equipment? A hidden cost you'll feel later.
NOW Phase: Identify Your Tech Foundation
Check Bluetooth/WiFi compatibility of your core equipment (many "smart" machines only work with proprietary apps)
Note which devices sync with Apple Health, Google Fit, or Strava (critical for cross-platform tracking)
Measure your space with equipment deployed (modern racks need 12 to 18 inches of clearance on all sides)
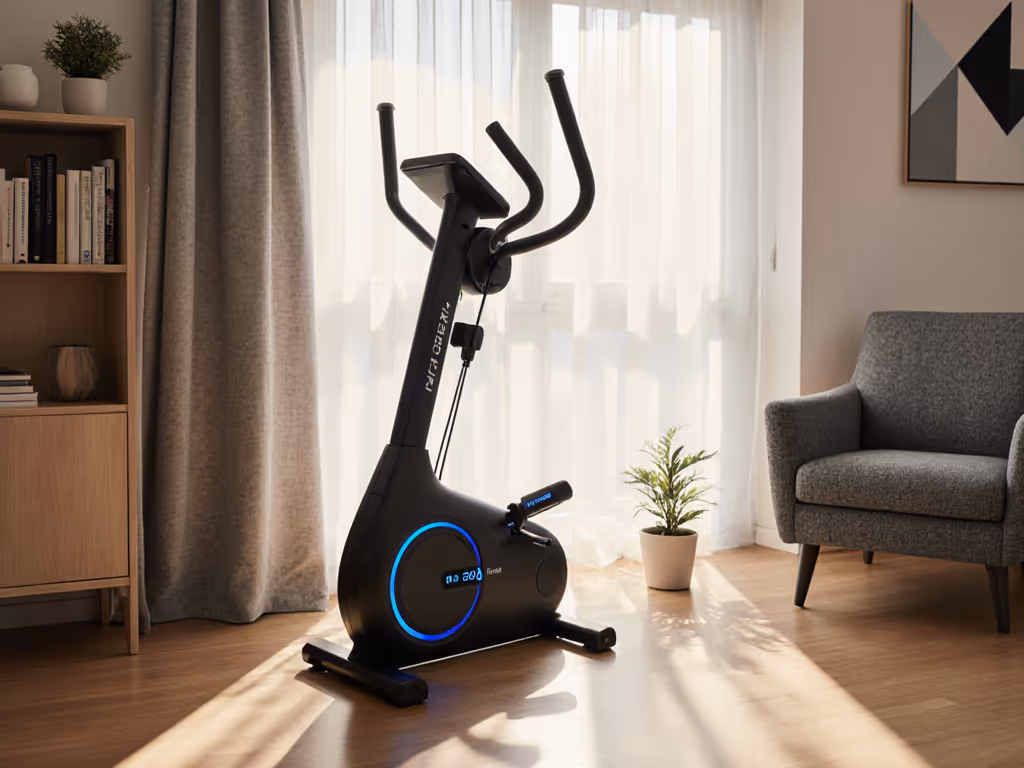
Peloton Bikes
Personalized cardio & strength training plans with real-time feedback.
Personalized guidance with real-time form correction.
Whisper-quiet fan for undisturbed workouts.
Cons
Requires separate monthly membership fee.
Customers find the stationary bike to be a high-quality piece of workout equipment that provides an engaging and motivating fitness experience with a wide range of on-demand and live classes. They appreciate its ease of use, with clear instructions and the ability to complete workouts quickly when time is limited. While some customers say the setup is easy enough, others find the DIY assembly difficult. The bike's functionality receives mixed feedback, with some saying it performs wonderfully while others report it doesn't work at all, and opinions on value for money are divided between those who find it worth the price and those who consider it pricey.
Customers find the stationary bike to be a high-quality piece of workout equipment that provides an engaging and motivating fitness experience with a wide range of on-demand and live classes. They appreciate its ease of use, with clear instructions and the ability to complete workouts quickly when time is limited. While some customers say the setup is easy enough, others find the DIY assembly difficult. The bike's functionality receives mixed feedback, with some saying it performs wonderfully while others report it doesn't work at all, and opinions on value for money are divided between those who find it worth the price and those who consider it pricey.
"Smart" means nothing without true fitness app compatibility. Here's how to separate marketing fluff from real interoperability:
Check the API: Does the manufacturer publish API documentation? (Red flag if not, they're locking you in)
Open Ecosystems: Look for brands that openly list compatible partners (like EGYM's 200+ brand integration mentioned in recent reports)
Test Before You Buy: Search YouTube for "[Brand] + [Your App]": real users reveal what spec sheets hide
Space-Saving Reality Check
That wall-mounted rack you love? If it doesn't integrate with your existing cable attachments, you'll need multiple mounting systems, wasting precious square footage. Device interoperability guide tip: Universal attachment points (like M8 threads) add future-proofing that's worth paying extra for. For adjustability, footprint, and value comparisons, see our home cable machine showdown.
Step 3: Build Your Phased Integration Roadmap
This is where most plans fail: buying "smart" gear without considering how it connects to next year's purchases. Your roadmap should:
Phase 1 (NOW): Core equipment with open connectivity (e.g., a bike with Bluetooth FE-C that works with any app)
Phase 2 (NEXT): Smart accessories that expand functionality (like a heart rate monitor that syncs to 3+ platforms)
Phase 3 (LATER): Premium integrations (e.g., AI form feedback) that build on your foundation
Budget Reality: Total Cost of Ownership
Phase
Typical Cost
Hidden Costs to Consider
NOW
$0-$500
App subscriptions, matting for vibration control
NEXT
$500-$1,500
Wall reinforcement for mounts, electrical upgrades
When my cable trainer died last year, I didn't replace it, I added a $13 T Lock Adapter to my existing setup. To cut vibration and protect neighbors, compare soundproof flooring options. This compatibility hack let me repurpose second-hand attachments while maintaining my quiet, space-efficient apartment gym. Start lean, upgrade on schedule, avoid sunk-cost traps.
Step 4: Implementation Testing (Don't Skip This!)
Before committing to full setup:
Test Connectivity: Pair new gear with your existing phone/watch, does it actually sync?
Measure Real-World Noise: Use a free decibel app (like Sound Meter) during actual use
Check Ceiling Clearance: With weights loaded (bar whip adds 2-3 inches of movement)
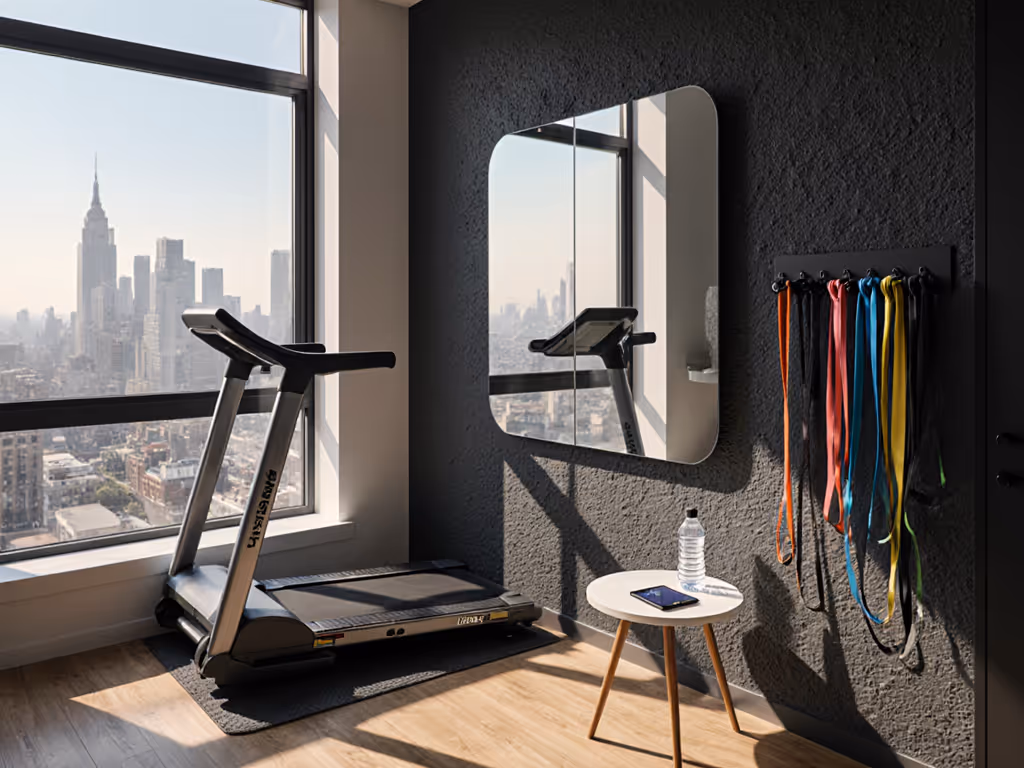
Critical Compatibility Check for Renters
If your lease restricts wall mounting, skip anything requiring permanent anchors. Also plan airflow and temperature with our home gym ventilation guide. Look for equipment with:
Floor-based stabilization (like weighted bases)
Removable mounting systems (e.g., clamp-on racks)
Vibration isolation pads that protect subfloors
Step 5: Scaling Your Smart Ecosystem
True home gym tech integration means new additions should enhance, not replace, your existing system. My current upgrade path:
NOW: Used barbell + fold-flat wall mount (under $300 total)
NEXT: Refurbished cable machine with universal anchor points ($400-$600)
LATER: Smart scale that syncs to multiple platforms (only when savings hit $150 threshold)
Avoid these common pitfalls:
Duplication: Two apps tracking the same metrics = wasted money
Forced Ecosystems: "Free" equipment often hides high subscription costs
Space Creep: Each new item needs 20% more clearance than advertised
Remember my rent spike rebuild? Selling my bulky rack freed up 30% of my floor space while keeping the core training value. That modular pivot (tracking costs in a spreadsheet and earmarking only for high-impact upgrades) is how I maintain a premium gym experience in a 200-square-foot shared apartment. Home gym equipment should vanish when not in use, not dominate your living space.
Your Action Plan: Integration Without Overwhelm
Audit first: 30 minutes with spreadsheet beats 3 hours of research
Prioritize open systems: Proprietary tech = future expense
Test connectivity before final placement: Walls block Bluetooth
Measure twice: Include cable swing radius and bar whip clearance
Phase your upgrades: Wait until savings hit target before NEXT phase
A smart home gym isn't about having the most technology, it's about creating seamless connected workout solutions that adapt to your space constraints, budget cycles, and training goals. For tidy, flexible setups, explore space-saving storage solutions. When your treadmill data automatically flows into your strength app, when your rack folds flat against the wall, when every purchase builds toward your next milestone without clutter, you've achieved true integration. Start lean. Build smart. And remember: Buy once, cry once - strategically isn't just about gear. It's about creating a system that grows with you, not against your space and sanity.