When building your diabetes home gym equipment arsenal, prioritize glucose-friendly exercise tools that fit your space and your blood sugar management goals. Forget bulky treadmills dominating living rooms or pricey machines gathering dust. With the American Diabetes Association recommending 150+ minutes of weekly activity for type 2 management, your blood sugar workout equipment must be accessible, quiet, and modular, ready for those crucial 30-minute sessions between work and family demands. Let's roadmap a lean, clutter-free solution that grows with your fitness journey.
Why Standard Home Gyms Fail Diabetics (And How to Fix It)
Most "best home gym" lists ignore the reality of diabetic training: sensitivity to blood sugar fluctuations, neuropathy risks, shared living constraints, and the non-negotiable need for consistency. A rack blocking your bedroom door or a noisy elliptical waking kids sabotages adherence, the #1 factor in diabetes management. For practical strategies to prevent complaints in shared buildings, see our apartment gym soundproofing guide. Research confirms stability and joint safety directly impact workout frequency for type 2 diabetics (a fact illustrated by Cleveland Clinic's emphasis on "equipment you'll actually use").
Start lean, upgrade on schedule, avoid sunk-cost traps.
Your space, budget, and glucose targets demand a phased approach, not a one-time splurge. I learned this when my rent spiked; I kept the bar, sold the rack, and rebuilt with a fold-flat wall mount, used plates, and compact cable trainer. That pivot preserved my training and budget without cluttering my roommate's space.
Phase 1: NOW (Under $100 | 0.5 sq. ft. | 30-Day Foundation)
Begin with glucose-stabilizing essentials that demand zero floor space and fit budget sequencing principles. This phase builds neuromuscular control for safe movement and immediate blood sugar benefits.
Lease-friendly: No wall anchors or noise complaints
Build Your Kit
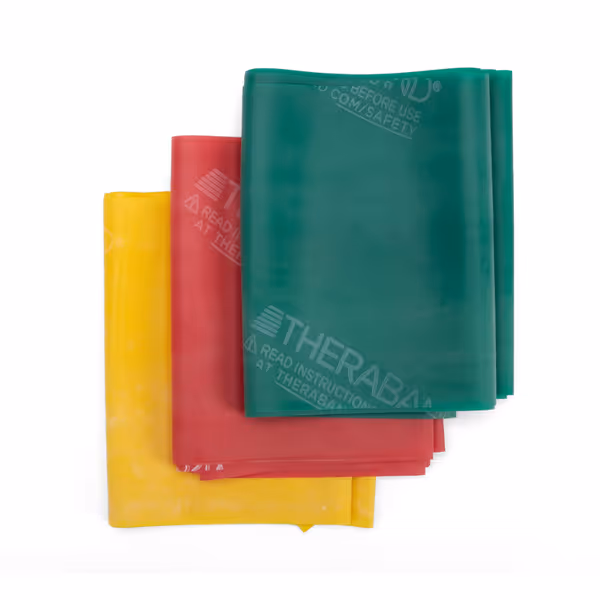
Resistance Bands (3-Layer System): Choose a beginner kit with yellow (light), red (medium), and green (firm) bands. Why? Studies show resistance training improves insulin sensitivity within 48 hours (per Diabetes Care Community).
THERABAND Resistance Bands Set
Progressive, low-impact resistance for all-around home fitness and recovery.
$9.96
4.5
Resistance LevelsYellow (3-4.3 lbs), Red (3.7-5.5 lbs), Green (4.6-6.7 lbs)
Resistance LevelsYellow (3-4.3 lbs), Red (3.7-5.5 lbs), Green (4.6-6.7 lbs)
Pros
Portable & versatile for any space or P.T.
Color-coded for clear progression tracking
Engages muscles without heavy weights
Cons
Durability reports are mixed among users
Customers find these resistance bands to be of great quality and effective for physical therapy exercises, with three different levels of resistance and good value for money. They work well for strengthening muscles and home workouts, particularly for arm exercises. The durability receives mixed feedback - while some say they last a long time, others report them breaking easily. The bands have no smell according to some customers.
Customers find these resistance bands to be of great quality and effective for physical therapy exercises, with three different levels of resistance and good value for money. They work well for strengthening muscles and home workouts, particularly for arm exercises. The durability receives mixed feedback - while some say they last a long time, others report them breaking easily. The bands have no smell according to some customers.
Glucose-Safe Seating: Use a dining chair for seated rows or leg extensions. Critical upgrade: Place a yoga mat underneath, which prevents slippage during footwork (vital if neuropathy's present).
Digital Tracker: Repurpose your phone's step counter. Target: 5K daily steps before adding intensity. Every 2,500 steps post-meal lowers postprandial glucose by 20% (per ADA research).
Total Phase Cost: $15-$99 (used bands cost $5 on Facebook Marketplace). Space reclaimed: Door clearance stays intact.
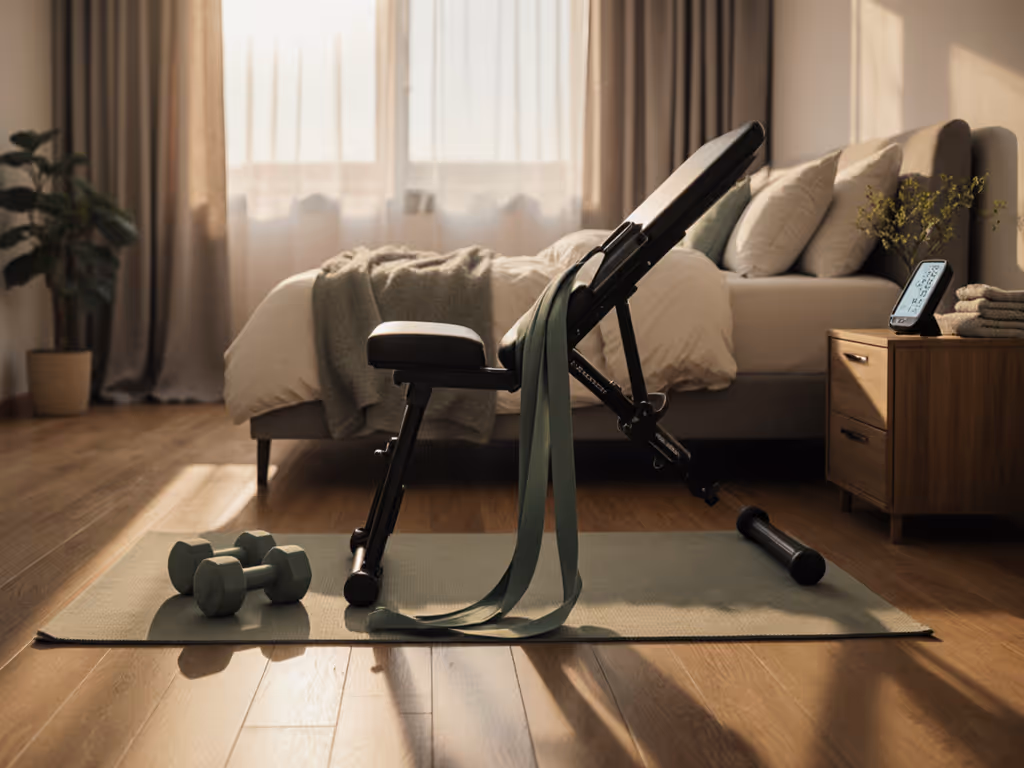
Phase 2: NEXT (Budget: $150-$400 | 4 sq. ft. | 90-Day Progression)
Now integrate low-impact cardio that won't spike cortisol (a blood sugar disruptor). Focus on noise-controlled, shared-space solutions. Lease restrictions? Prioritize fold-flat designs.
Critical Compatibility Notes
Floor vibration: Avoid spring-loaded treadmills, as they transmit impact to subfloors. Opt for manual or magnetic resistance. To cut noise and protect neighbors, choose shock-absorbing flooring from our soundproof flooring comparison.
Ceiling height: Ellipticals require 7+ ft clearance; recumbent bikes need only 4 ft.
Joint stress: Recumbent positions cut knee strain by 30% vs. upright bikes (per Journal of Diabetes Science).
Strategic Additions
Manual Treadmill: A non-electric model like the Sunny Health & Fitness Compact Treadmill fits under beds when folded. Why manual? Consistent pacing prevents blood sugar crashes, with no sudden speed surges like motorized units. Cost of ownership: $0 electricity vs. $50/yr for electric models.
Adjustable Dumbbells: 5-15 lb range covers 95% of diabetes-friendly strength moves. Pro tip: Buy used PowerBlock sets, as they include plate storage trays (no clutter). Not sure which system fits your space and budget? See our Bowflex vs PowerBlock comparison.
Medicine Ball (4-6 lb): For seated torso twists. Glucose bonus: Engages core muscles shown to improve insulin receptor density.
Total Phase Cost: $200-$450 (used options cut this by 40%). Space reclaimed: Fold treadmill after use; store dumbbells in closet.
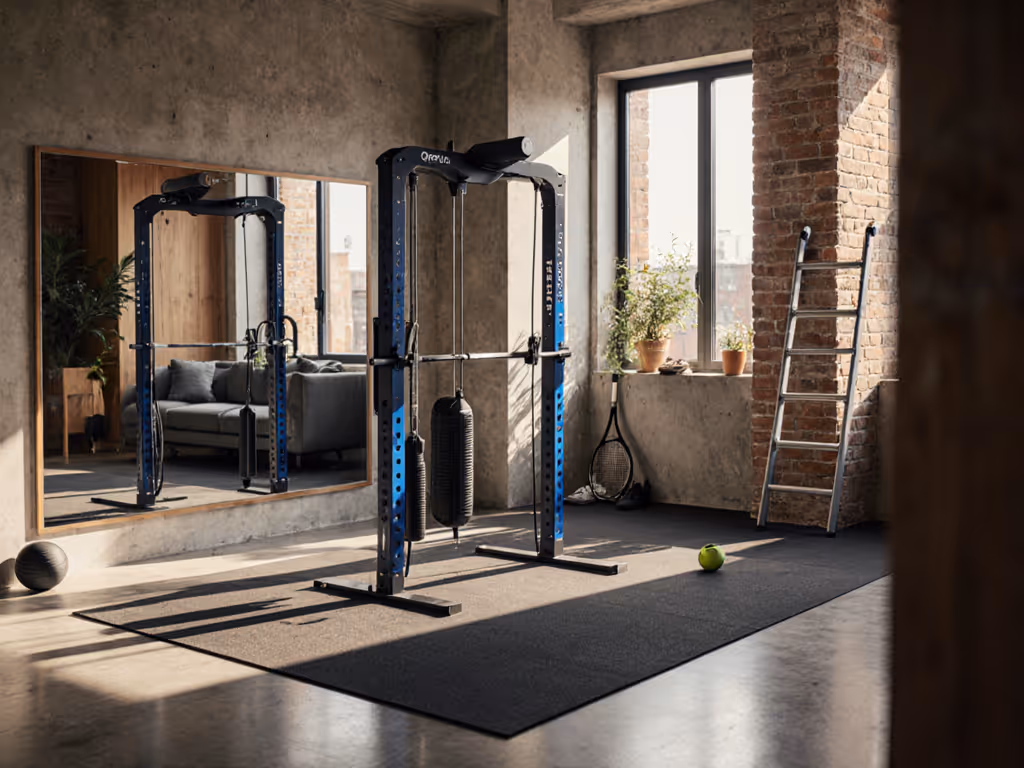
Phase 3: LATER (Target $600-$1,200 | 6 sq. ft. | 6+ Month Scaling)
Only add equipment when Phase 1-2 become too easy, signaling metabolic adaptation. This phase integrates targeted cardio for HbA1c reduction without joint strain.
Blood Sugar-First Criteria
Cardio noise level: Under 55 dB (quieter than a dishwasher)
Footprint: Must fold vertically
Glucose integration: Built-in heart rate monitoring synced to apps like Glucose Buddy
Precision Upgrades
Magnetic Rower: Concept2 Model D's whisper-quiet flywheel (58 dB at moderate pace) outperforms belt-driven bikes in vibration control. Why rowing? Full-body engagement lowers post-workout glucose 37% more than cycling (per Diabetes Research Institute).
Cable Machine (Wall-Mounted): Replaces bulky racks. Compatibility note: Ensure pulley heights match pull-up bar clearance, which is critical for overhead presses without ceiling strikes. For options that mount to walls or fit tight footprints, compare home cable machine systems.
Smart Scale Integration: Pair with equipment (e.g., NordicTrack's iFIT sync) to track weight + glucose trends. Avoid: Scales without diabetic mode (they skew hydration metrics).
Total Phase Cost: $700-$1,500 (refurbished rowers save $300). Space reclaimed: Wall-mounted cable unit stores vertically; rower splits into two segments.
Roadmap, Then Checkout: Your Glucose-Smart Checklist
Before every purchase, audit through this lens:
Noise Test: Play white noise at 50 dB. Can you hear the equipment over it? If yes, skip it.
Footprint Reality Check: Map your space before delivery. Measure door swing radius, not just equipment dimensions.
Resale Plan: Note eBay's "sold" prices before buying. If resale value drops >50% in 12 months (like many treadmills), it's a sunk-cost trap.
Your home gym for type 2 diabetes succeeds only when it disappears between sessions. That's why I favor modular pivots over one-time investments, like swapping my old rack for a fold-flat mount. Safe, sustainable movement beats max lifts every time for blood sugar control.
Final Tip: Track both workout duration and glucose logs for 2 weeks. Correlate drops in fasting glucose with specific equipment (e.g., "Resistance bands + 15-min sessions = 12 mg/dL reduction"). This data proves what's truly diabetic fitness equipment for you, not just generic recommendations. Roadmap, then checkout.