Buying Guides by Audience & Goal
Good Home Gym Equipment For Quiet Muay Thai And Thai Boxing
21st May•15 min read
Creating a truly autism-friendly home gym requires more than just space, it demands thoughtful consideration of sensory needs, predictable environments, and equipment that supports neurodiverse learners. As someone who's rebuilt workout spaces multiple times in tight urban quarters, I've learned that neurodiverse fitness equipment isn't about special gadgets, but intentional design that accommodates varying sensory thresholds. When my own rent spiked, I had to rethink my entire approach: selling bulky equipment while keeping essentials, then rebuilding with modular, space-conscious solutions that respected both my budget and my shared living space. That pivot taught me to prioritize flexibility, sensory consideration, and phased planning, principles that directly translate to creating inclusive workout environments for neurodiverse individuals.
Start lean, upgrade on schedule, avoid sunk-cost traps.
Most home gym advice centers on maximizing intensity and load capacity, rarely addressing the sensory challenges that can turn a workout space into a source of anxiety for autistic individuals. The very elements that make conventional equipment "effective" (loud clanging plates, chaotic visual stimuli, unpredictable movement patterns) become significant barriers to consistent exercise for neurodiverse users. If noise is a major trigger, see our apartment gym noise control guide for practical sound-damping tactics.
Common pain points include:
According to occupational therapy research, approximately 70% of individuals with autism experience sensory processing differences that affect their daily functioning (including exercise routines). A traditional gym environment with its heavy plates, metal-on-metal sounds, and chaotic movement patterns simply isn't designed for these needs.
Rather than investing in specialized "autism equipment," focus on creating a predictable, adjustable environment using standard fitness gear modified for sensory sensitivity. My approach breaks down into three phases that align with actual usage patterns and budget constraints, rather than marketing hype.
Start with equipment that offers predictable resistance with minimal sensory disruption. The goal is to establish a foundation that supports basic movement patterns without overwhelming the nervous system.
Flooring Fundamentals ($150-$400) Begin with sensory-appropriate flooring that provides both cushion and stability. For tested options and install tips, compare soundproof gym flooring. Standard rubber gym tiles often have strong odors and inconsistent textures that can be problematic. Instead, look for:
Predictable Resistance Tools ($200-$600) Sandbells or water-filled resistance tools (like the Perform Better Autism Fitness Package components) offer smooth, silent resistance with visual progress cues. Unlike traditional weights that create loud impacts, these tools provide:
Tactile Boundary Markers ($50-$150) Create predictable spatial boundaries using:
These Now-phase elements cost between $400-$1,150 total, providing immediate functionality while establishing the sensory framework for future expansion. Crucially, each component serves multiple purposes and can integrate with later-phase equipment.
Once the foundational environment proves successful (typically 2-3 months of consistent use), expand with equipment that introduces new movement patterns while maintaining sensory predictability.
Wall-Mounted Pull-Up Solutions ($250-$500) Instead of bulky racks that dominate space, consider:
When I rebuilt my own compact gym after downsizing, I kept my bar but mounted it to a fold-flat system that disappeared when not in use (preserving my training while respecting shared space). This modular pivot is exactly what neurodiverse home gyms need: equipment that serves its purpose without dominating the environment.
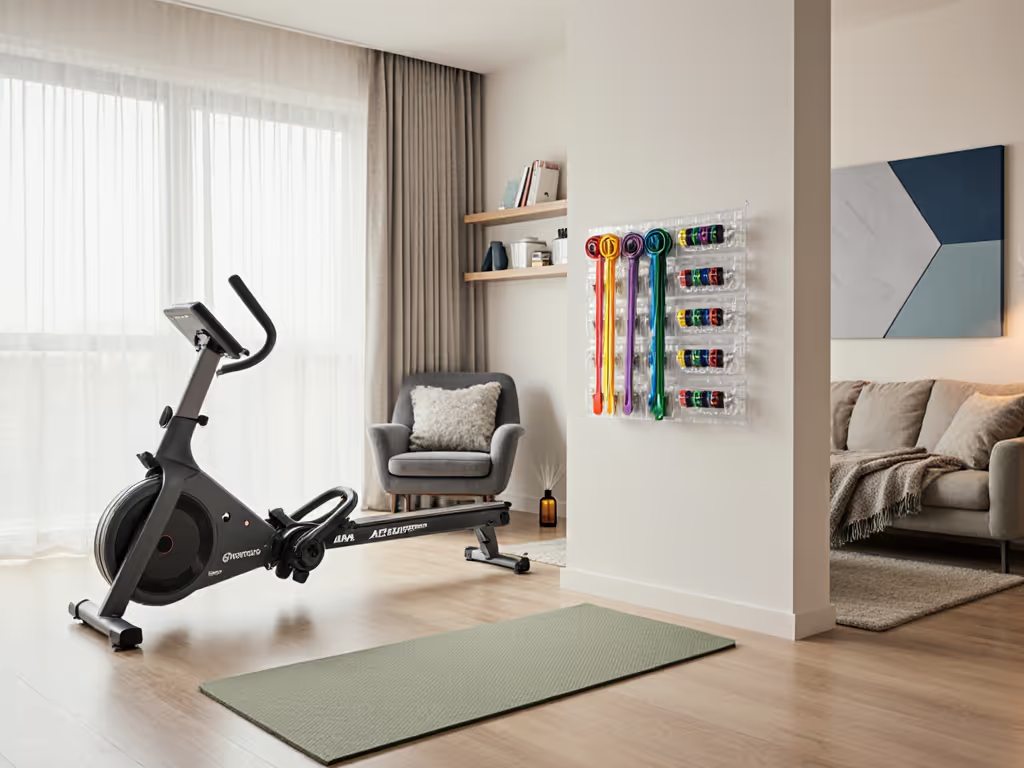
Predictable Cardio Options ($300-$800) For cardiovascular work that won't trigger sensory overload: Rowers are an excellent low-noise choice—start with our water vs air rower comparison to pick the quieter tech for your space.
Sensory Integration Tools ($100-$300)
The Next phase adds $650-$1,600 to your investment, bringing your total home gym for neurodivergent users to $1,050-$2,750. Each addition should integrate with your Now-phase equipment, creating a growing ecosystem rather than isolated pieces. Pay attention to compatibility. Will your resistance bands work with your wall mount? Can your therapy ball complement your flooring system?
Only consider these additions once you've established consistent usage patterns and understand exactly which sensory elements support, or hinder, your workout experience. For steady air and temperature cues that reduce sensory surprises, follow our home gym ventilation guide.
Modular Strength Systems ($800-$2,500)
Environmental Controls ($200-$600)
Specialized Sensory Tools ($150-$400)
The Later phase represents $1,150-$3,500 in potential additions, but crucially, these should only be implemented based on documented needs from your earlier phases. Total investment ranges from $2,200-$6,250, but remember that you're building toward a complete calming gym environment for autism that serves multiple purposes over years, not months.
Living in tight quarters requires deliberate space management. Use these home gym storage solutions to cut visual clutter and create predictable zones. When I rebuilt my own gym after a rent increase, space reclaim became non-negotiable. Try these strategies:
Rather than following generic "best of" lists, build your autism-friendly home gym through intentional observation:
Consider creating a simple spreadsheet to track:
This data-driven approach prevents wasted investments and identifies exactly where to allocate resources during your Next and Later phases.
When evaluating neurodiverse fitness equipment, consider more than just purchase price:
The most expensive equipment isn't always the one with the highest price tag, it's often the piece that creates sensory barriers, requires significant space, or can't adapt as needs evolve.
Creating an effective autism-friendly home gym isn't about buying specialized equipment, it's about designing an environment that respects sensory processing differences while supporting physical development. The most successful spaces I've seen follow the roadmap principle: start with minimal, predictable elements that provide immediate value, then expand based on demonstrated need rather than potential.
When planning your space, remember that flexibility trumps specialization. A thoughtful arrangement of basic, modular equipment creates a more sustainable solution than specialized gear that might not match evolving needs. Your primary goal should be consistency, not intensity, building predictable sensory-friendly workout equipment experiences that encourage regular participation.
Before making any purchase, ask: "Does this support our current needs while allowing for future adaptation?" If not, reconsider. True accessibility comes not from special features, but from thoughtful integration into daily life.
Roadmap, then checkout.
Further Exploration: Consider connecting with occupational therapists specializing in sensory integration to help identify specific equipment needs for individual sensory profiles. Many offer home consultations that can prevent costly missteps in your gym planning process.